Hello :) Awhile back, I posted about my rainbow nails. The mani was inspired by a Korean blog but I did my nails a bit differently to what the photo tutorial shows (I can't read Korean :P) and since Freshie requested for a tutorial, I thought I'd give it a go :) This is my first tutorial so please let me know what you think!
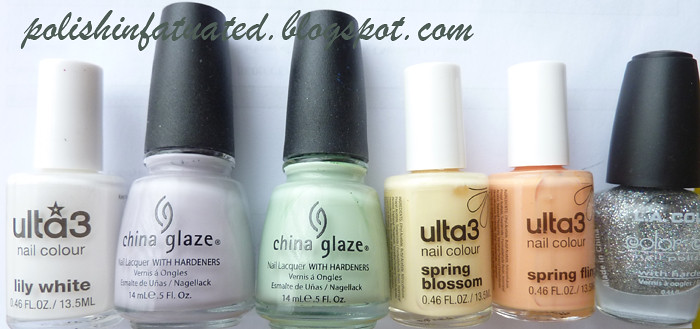
Here are the polishes I used:
Ulta3 lily white, spring blossom, spring fling
China Glaze Light as air, Re-fresh mint
L.A. Colors Star light
step one Apply one coat of white polish as a base colour. Wait for the polish to dry before moving on.
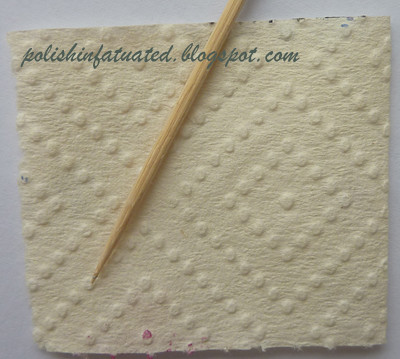
I don't own any make up sponges so I just cut up a piece of normal kitchen paper towel and used it instead.
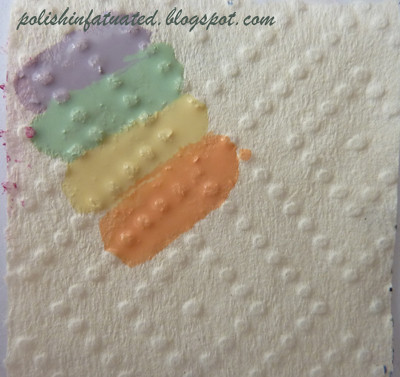
step two Paint a line of each of the polishes you're going to sponge on to the paper towel. The thickness of the lines depend on the length of your nail and the number of colours you want to fit onto your nail, so there's a bit of trial and error involved. I then used the toothpick to quickly run it between each line of the polishes to prevent it from spilling into each other.
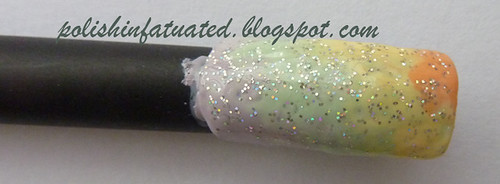
step three Sponge on one coat on to your nail then wait for it to dry before doing it a second time. This is what it looks like after sponging two layers on to the nail. It looks super messy (and it's a lot messier here than in my previous post) but the next step fixes it all :)
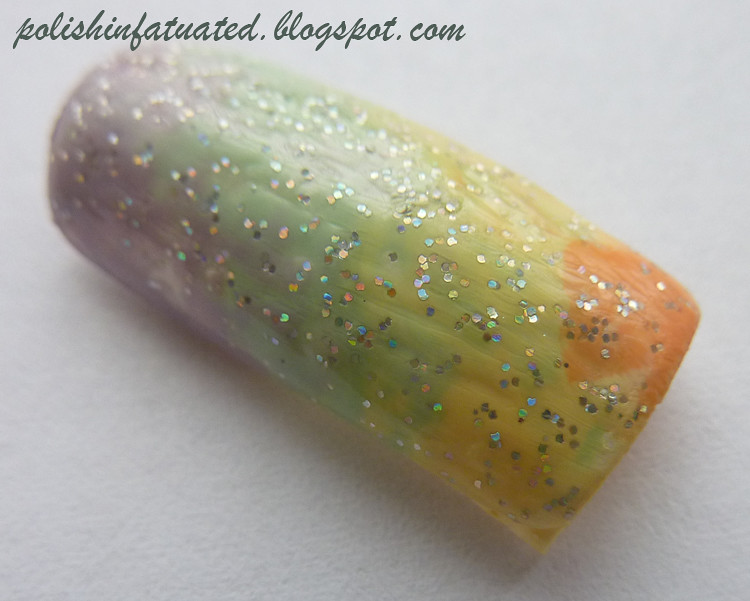
step four Just look at what a coat of glitter can do! :D It's so good at hiding imperfections.
And the final result~Yeah errr, my top coat kind of streaked :(
I hope you found this tutorial useful! Rainbow nails are definitely not hard to do but they are a little time consuming. I reckon the final result really makes up for it though ^^
~Sharon
Saturday, March 5, 2011
- In: China Glaze, gradient, L.A. Colors, nails, tutorial, Ulta3
- Posted By: Sharon
- Comments: 9 comments



You should add a coat of black crackle polish over the top - that would look cool!
ReplyDeleteLisa: Thanks for idea, Lisa! Unfortunately I must be one of those rare people who don't like crackle polishes haha. I enjoy looking at photos of them by bloggers, but not so much in real life :P If you ever try it out though, definitely let me know, I'd love to see it!
ReplyDeleteNice nailtutorial, love the rainbownails! :D
ReplyDeleteYay thank you for doing the tutorial! I'm so excited to try it out, perfect Spring or Easter mani!
ReplyDeleteso beautiful i'll try it very soon ! thanks again !
ReplyDeletexlittle.girl: Thank you! I'm glad you like it ^^
ReplyDeleteFreshie: No problem! I can't wait to see your version of it!
Iro: Thanks :) Definitely let me know when you try it, I'd love to see it!
ReplyDeleteIro: Thanks :) Definitely let me know when you try it, I'd love to see it!
ReplyDeleteLisa: Thanks for idea, Lisa! Unfortunately I must be one of those rare people who don't like crackle polishes haha. I enjoy looking at photos of them by bloggers, but not so much in real life :P If you ever try it out though, definitely let me know, I'd love to see it!
ReplyDelete