Thursday, February 28, 2013

China Glaze OMG and some stamping

Hi ladies! I've been wanting to pull China Glaze OMG out to wear again for the longest time and finally I decided on a decent manicure idea :) I applied three coats of OMG to even out the patchiness and then took Ulta3 black satin and stamped with the image from BM-221. Love, love, love the contrast in the silver holo and black stamping! ♥

omg stamped with black flowers1

omg stamped with black flowers2

omg stamped with black flowers3

When was the last time you wore a holographic polish? :D

Thanks for reading!
~Sharon

Read more…

Tuesday, February 26, 2013

Happy Snaps!

Hi everyone! Australian nail polish brand Mode recently came out with a matte top coat. Whilst I love to have glossy and shiny tips, sometimes it's nice to trap the flashes of colours on the nail with a matte finish. For this look, I started with two coats of Mode Happy snaps and layered a coat of Finders keepers over it. The gold glitter in Finders keepers does bleed, unfortunately, so you'll find the yellow-gold tinge may affect your base shade if it is lighter. First off, with a glossy top coat :)

happy snaps layered with finders keepers1

The next day, I took Mode's Matte me top coat to create a matte finish. And it was love! ♥ You know how some matte top coats just don't do what they're meant to and give a satin finish instead? Not this one. This is a true, matte finish.

happy snaps layered with finders keepers2

happy snaps layered with finders keepers3

The gold glitter on aqua blue had me constantly looking at my nails the whole time I wore this manicure... ;) Are you a fan of the matte finish?

Thanks for reading!
~Sharon
Products provided for consideration.

Read more…

Sunday, February 24, 2013

Don't burst my bubble and Polka.com

Hello hello :) Sometimes after a bright manicure, it's a relief to wear a more neutral and palette cleansing manicure :) I applied three coats of OPI Don't burst my bubble and then layered a coat of Polka.com over it to jazz the look up a little bit.

don't burst my bubble layered with polka dot com1

don't burst my bubble layered with polka dot com2

don't burst my bubble layered with polka dot com3

I'm a little on the fence with this layering, what do you think?

Thanks for reading.
~Sharon

Read more…

Friday, February 22, 2013

OPI Get your number

Hello! After swatching OPI Get your number from the Mariah Carey collection, I knew I had to wear it as a full manicure in the near future. And so I did :)

Below is three coats of Get your number and no top coat.

get your number1

get your number2

get your number3

It's so pretty, even without top coat ♥ I do believe blue has become my favourite nail polish colour to wear!

What do you think of these texture nail polishes being released?

Thanks for reading!
~Sharon

Read more…

Tuesday, February 19, 2013

Wavy, rainbow pastels

Hi ladies! My posts are becoming rather sporadic due to working life, sorry about that :( I wish I had more energy and motivation to write up posts in the evening but considering I've been in a polish slump recently too, it might remain like this for awhile yet.

Anyways, this post features a rather bright and in your face manicure! :) It's actually been quite awhile since I've worn it so I don't really remember all the polishes I used :P I'll try my best though!

I basically blobbed all the colours onto a paper towel (you can use a make up sponge, if you prefer) and dabbed it onto my nails. I believe I used OPI Suzi's Hungary again, Australis Peek-a-boo, Ulta3 spring blossom, spring fling and spring shower. I then stamped with BM-201 and Ulta3 black satin before adding the LA Colors Star light.

rainbow waves1

rainbow waves2

I don't usually wear rainbow nails and especially to work too! A very bold manicure, despite using pastel shades :P Do you like these types of manicures?

Thanks for reading!
~Sharon

Read more…

Saturday, February 16, 2013

Studded up flowers

Hi ladies, here's a super quick post for today.

Pinky & index: Two coats of China Glaze First mate, and added a stud towards the base.
Ring: Two coats of Face of Australia Titanium. I then took First mate and and white striper brush to apply at the tip. The flower was created using a dotting tool and First mate.
Middle: Two coats of First mate and using Titanium and a dotting tool, I added the flower.
Thumb: Two coats of Titanium as a base colour, then added First mate and some glequins.

blue, flowers and studs1

blue, flowers and studs2

blue, flowers and studs3

I had a lot of fun with this manicure and loved how simple it was! :) What do you think?

Thanks for reading.
~Sharon

Read more…

Wednesday, February 13, 2013

Review: Orly SmartGELS

Hello everyone! I am extremely excited to share with you all my first foray into the land of gel nails! I recently had the opportunity to try out Orly's SmartGELS and with it being my first time using gel nail polish, I did a thorough research online before making a start :P However, after trying the Orly kit, I can safely say this is pretty easy to do. 
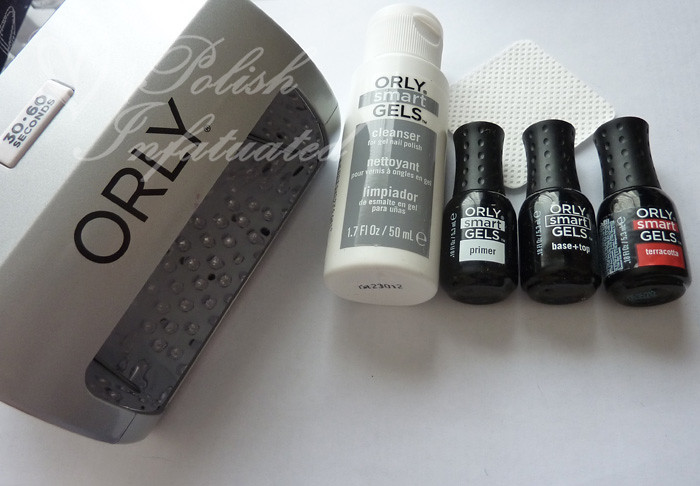
Orly offers a starter kit which includes all the equipment you will need to create your gel manicure, as well as remove it. An LED lamp can be purchased in a separate kit.

Here are the materials you need to ensure you can create your own at-home gel manicure:

- LED light, which has a 30-60 second timer. Simply hit the button at the top and wait for your gel polish to cure (30 seconds for lighter shades and 60 seconds for the darker ones).
- Cleanser and lint free wipes, used to ensure the nail bed is free of oil before applying the gel polish, as well as removing the sticky residue after you have finished applying all your coats.
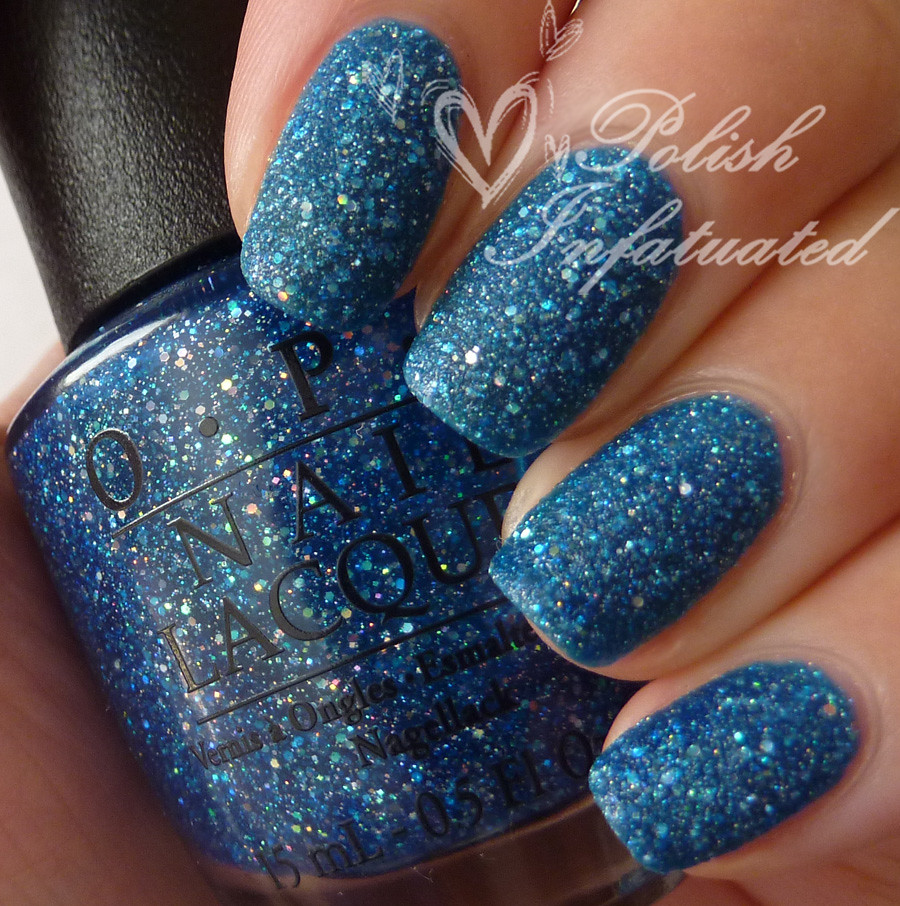
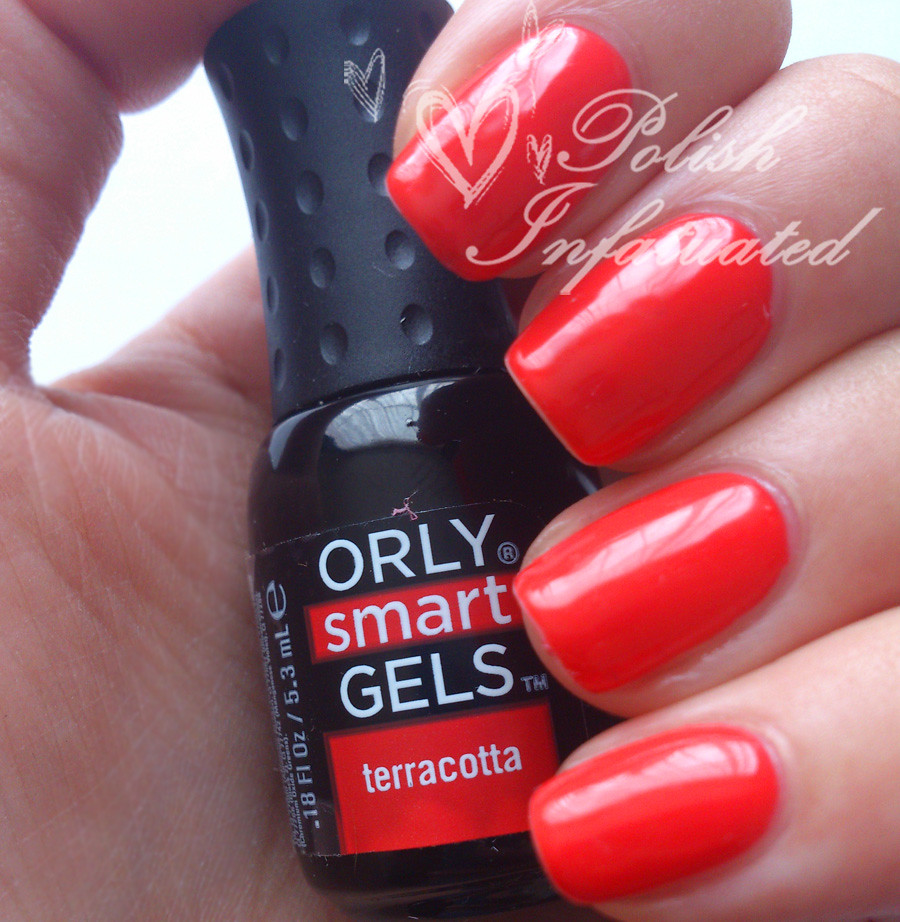
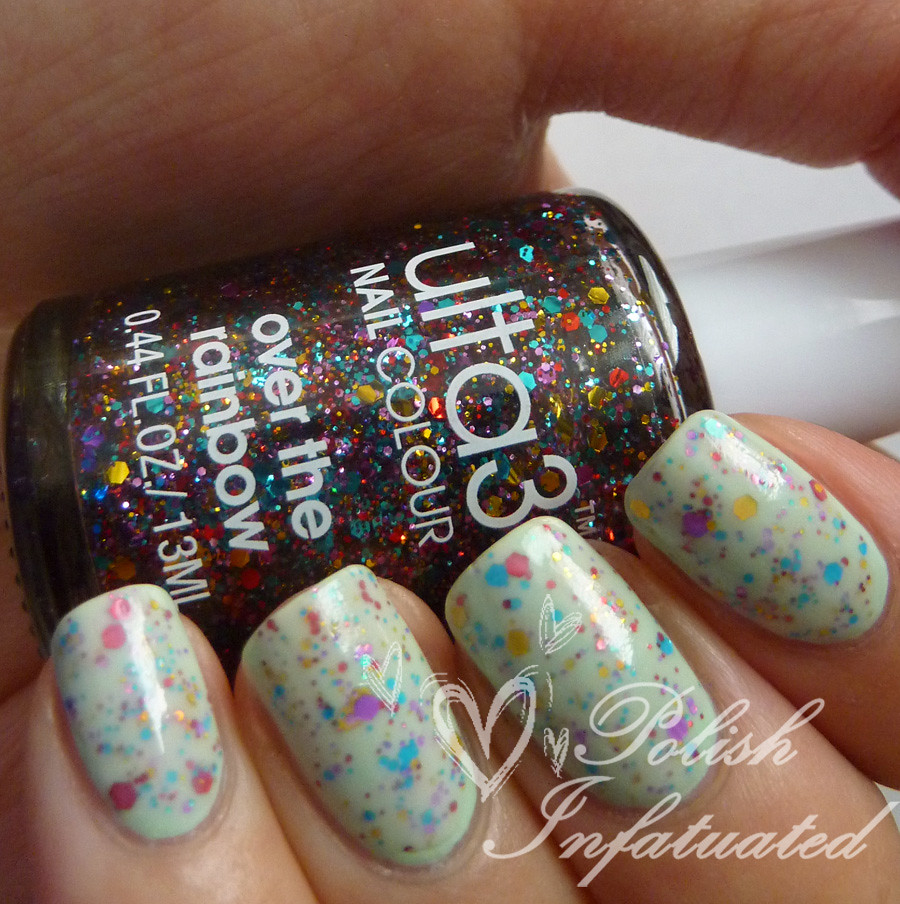
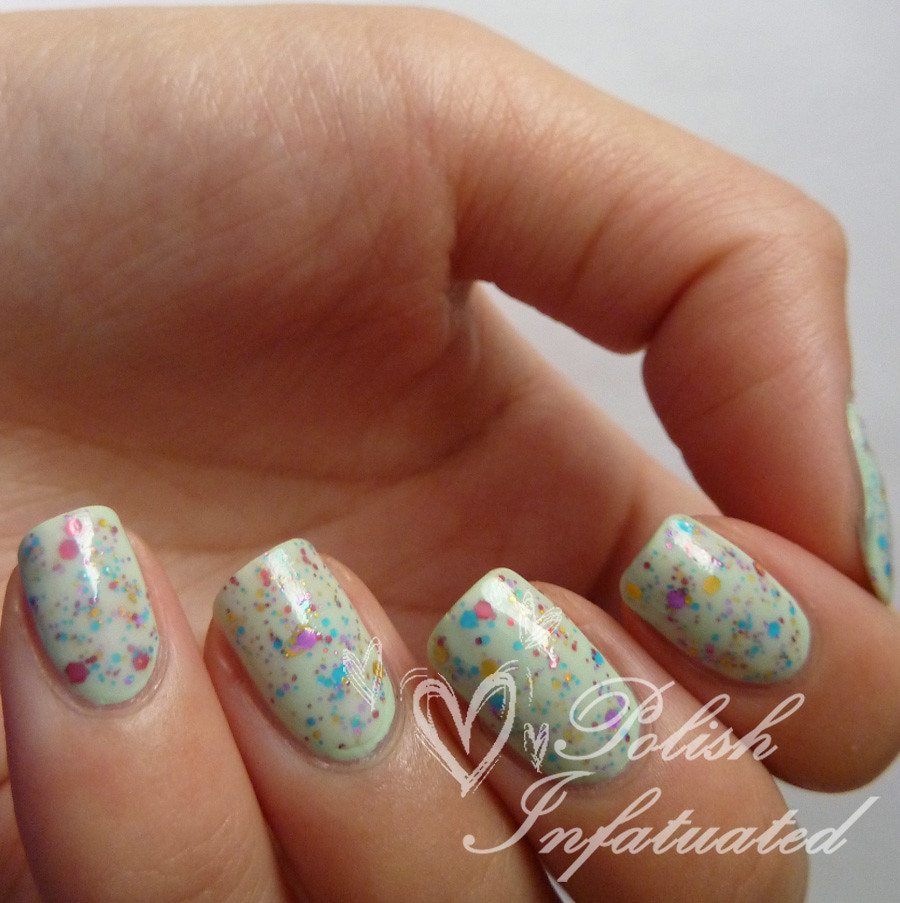
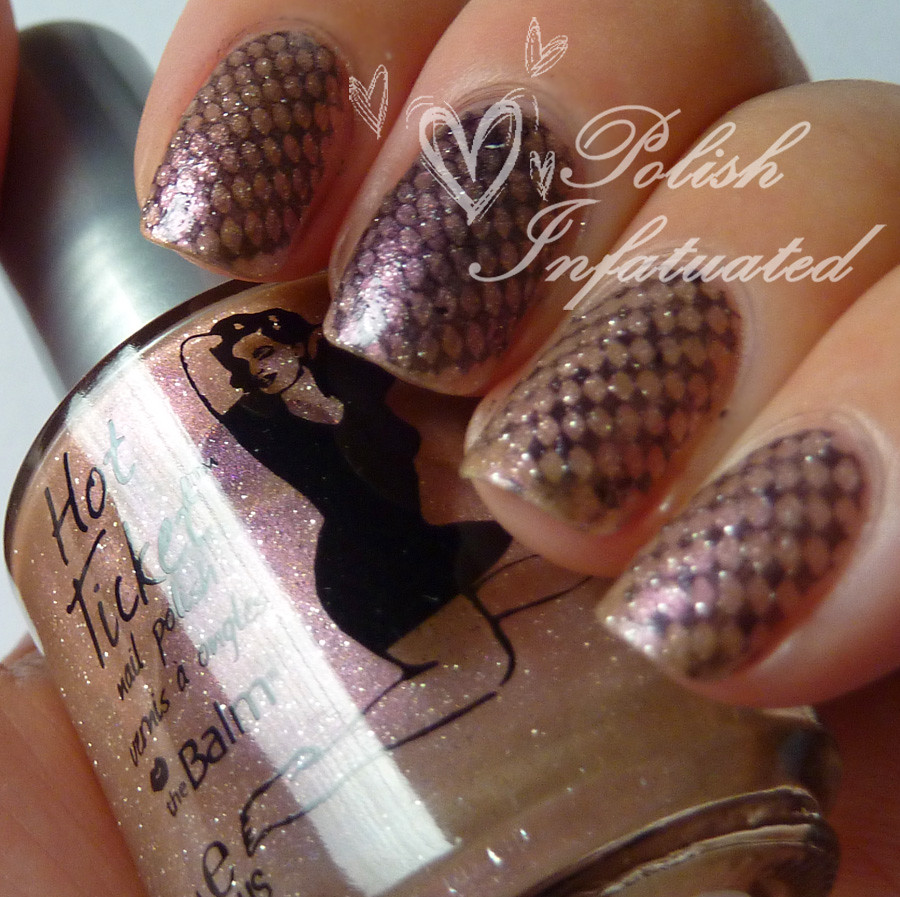
- Primer, base+top coat and of course, your choice of the SmarGELS colour. You can see Terracotta in the photo below.

orly gel kit

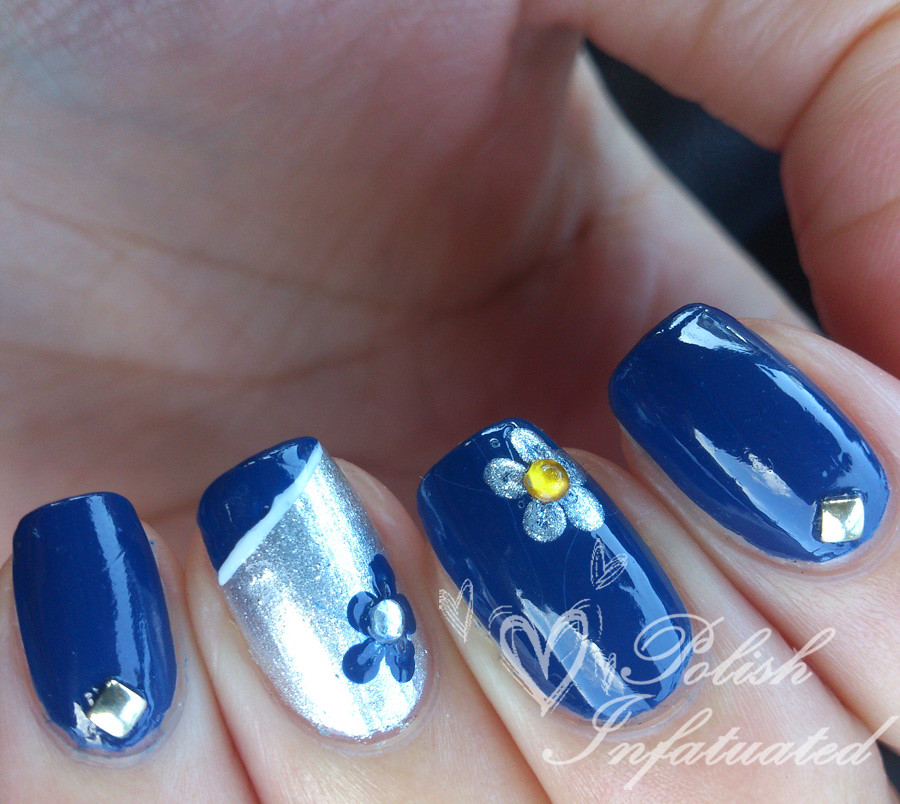
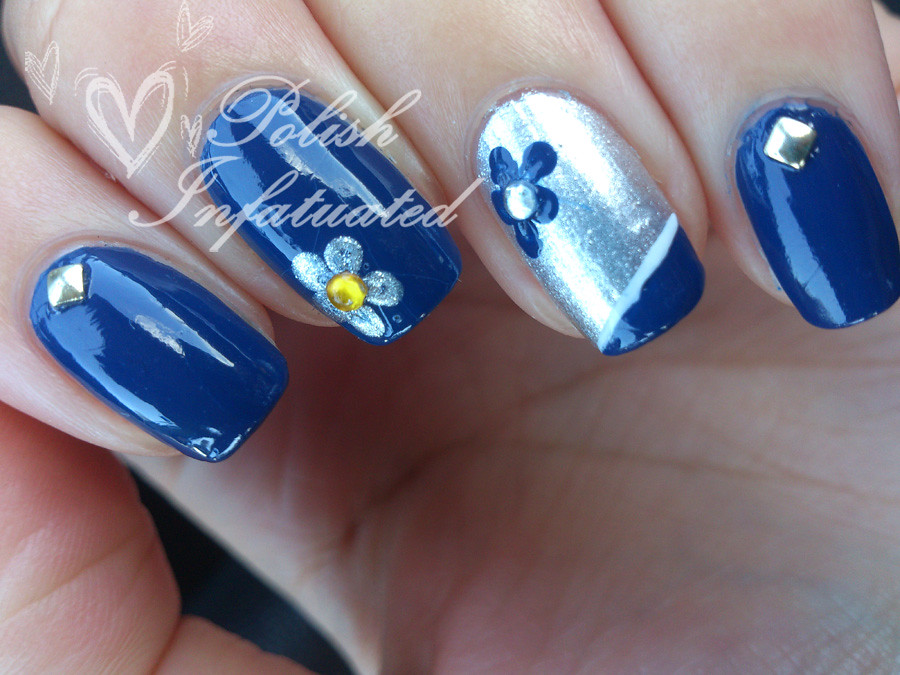
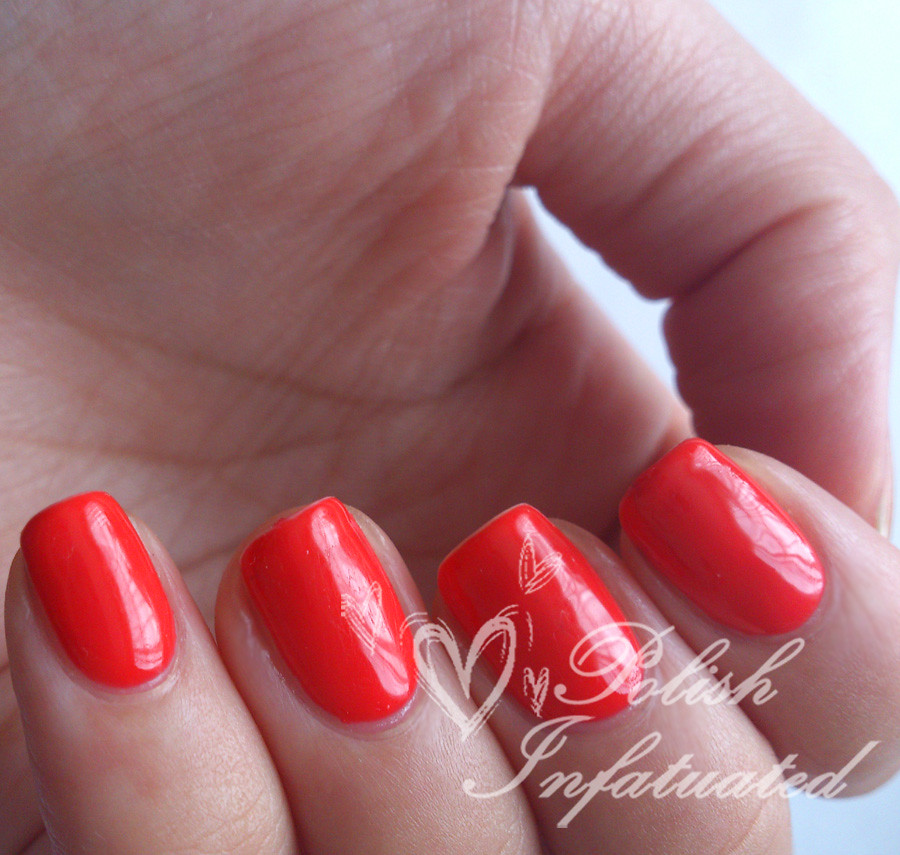
I followed the instructions on an information booklet and I was pretty happy with the way my manicure turned out. With this being my first time applying gel, I have to say that there wasn't any steep learning curve. Yes, I can definitely do better but I do think this was a nice outcome for my first try :)

terracotta1

How to:

1. Buff and clean nails with the cleanser & lint free wipes
2. Apply primer to the tips. Allow to dry.
3. Apply base+top and cure for 30 seconds.
4. Apply your first layer of the SmartGELS polish. Cure for 30 seconds.
5. Repeat step 4.
6. Apply base+top to seal in your gel colour. Cure for 30 seconds.
7. Take the cleanser and lint free wipe and clean the surface of your nail to remove the sticky residue.
8. Admire your super shiny final product!

terracotta2

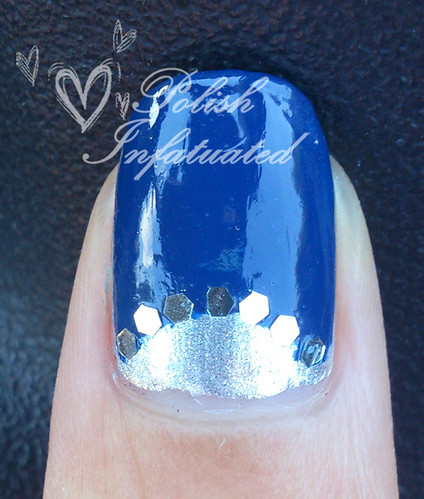
I had previously read online to wrap my tips with the gel polish to improve wear time. Unfortunately, I found that this caused the gel polish to shrink after it was cured, making my nails look like they had tip wear. Besides that though, I received no further wear or tear in the three days I had it on (and that's really something, considering I constantly wash my hands at work!).

Now, a little bit about removal. On day three, I found that I could lift a little part of the gel polish on my right index finger. After resisting for the whole day and not play with it, I decided to try if I could actually remove the gel polish by simply peeling it off my nails. And voilà! Look what happened.

terracotta3

The gel polish peeled off all my nails as if I had worn a PVA glue base coat. (In fact, it worked even than if I had worn the PVA because the last time I did that, the glue completely ruined my nails, causing peeling and completely weakening my nails. Oh no, never again will I use PVA glue! *shudders*) Unlike my experience with the glue though, my nails were in no way damaged after the peeling and I actually managed to avoid a much longer removal process. Hurray!

I'm not sure why the gel colour managed to peel off my nails, although I suspect it may have been because I didn't cure it long enough. In hindsight, Terracotta is probably considered a darker shade so I should have probably cured it for 60 seconds as opposed to the 30 seconds I did.

Orly's Starter kit retails at $79.95 and the LED light at $99.95. The SmartGELS can be purchased separately and retail at $23.95 each. The entire system can be purchased from Terry White Chemists, National Pharmacies and online at Orly Beauty.

I loved how easy it was to create the gel manicure and I will definitely be playing around with more of it in the near future! Have you ever tried a gel manicure before?

Thanks for reading!
~Sharon
Products provided for consideration.

Read more…

Monday, February 11, 2013

Minty, rainbow sparkles

Hi ladies~ Who's hungry for a jelly and glittery sandwich? ;) I started off with two coats of China Glaze Re-fresh mint and then layered a coat of Ulta3 over the rainbow on top. To create the jelly look, I added two coats of Flormar #20. Voilà! Minty, rainbow goodness :D

rainbow glitter sandwich1

rainbow glitter sandwich2

rainbow glitter sandwich3

rainbow glitter sandwich4

Boy was this a pain to remove though... :P Do you like glitter sandwiches? What do you think, worth the removal process or not?

Thanks for reading!
~Sharon

Read more…

Saturday, February 9, 2013

Happy Chinese New Year!

Hi everyone :) Happy Chinese New Year to all who celebrate! As the year 2012 draws to an end on the Lunar calender, I am ready to wave in 2013 - year of the snake - with my Chinese New Year inspired manicure.

I started off with two coats of Ulta3 scarlet and then applied a gold tipped gradient with Hello Kitty Golden girl on my index and pinky nails. For my ring and thumb, I stamped the snake pattern from BM-215 with Golden girl. It's not the most opaque gold polish but I love how it gives a more subtle stamped effect :) On my middle nail, I stamped the Chinese character 福 () from BM-221 and added a glequin border.


chinese new year snake1

chinese new year snake2

And an upside down photo! 福 means fortune and is usually seen hung when upside down (倒 dǎo) during Chinese New Year, which signifies that fortune has arrived (到 dào; similar pronunciation to  ).


chinese new year snake3

Hope you enjoyed the small Chinese lesson! :P Do you celebrate Chinese New Year?

Thanks for reading!
~Sharon

Read more…

Wednesday, February 6, 2013

A glittery princess

Hello hello! A short and sweet post for today :) I pulled out Cult Nails Princess to wear and decided to add a glitter gradient using OPI Which is witch?, ending up with a soft, glittery and pretty princess-y nail look ♥

glittery princess1

glittery princess2

glittery princess3

I attempted a one stroke rose look on my thumb but it didn't turn out the best... :P How do some ladies make them look so effortless and pretty?!

glittery princess4

Here's a close up look of Which is witch? because of how sparkly and gorgeous it looks :)

glittery princess5

Have you tried the one stroke look before?

Thanks for reading as always!
~Sharon

Read more…

Sunday, February 3, 2013

Swatches and review: Call me iridescent

Hi everyone~ Today's post features a new to me brand! I recently had the opportunity to try one of theBalm's nail polish in Call me iridescent. In the bottle, you can see a glorious duochrome with silver glitter mixed into it and on the nail, it doesn't disappoint! I apologise for not having any individual photos of the polish, none of the photos came out well unfortunately.

I applied three thin coats of Call me iridescent as it is rather sheer. At three coats though, it covered perfectly. I topped the look off with theBalm Time for a quicky quick dry top coat, which was unfortunately a disappointment. It was neither quick drying nor shiny; in fact, it dried at about the same rate as my non quick dry top coat Revlon Just tinted shiny top coat, except without the shine. I found the formula to be really thin and runny and the brush was stiff and didn't spread. Quite a let down as I was expecting a lovely quick dry top coat!

call me iridescent1

I stamped with BM-319 and Ulta3 black satin, then finished the look with the Revlon top coat.

call me iridescent2


call me iridescent3

theBalm nail polishes can be found in David Jones and selected pharmacies Australia wide, retailing at $13.95 each.

I really love Call me iridescent but I know I will be passing on the quick dry top coat! What are your thoughts on the pretty polish? :)

Thanks for reading!
~Sharon
Products provided for consideration.

Read more…

Saturday, February 2, 2013

Pink, glittery butterflies

Hi everyone! After I read Anutka's butterfly post, I knew I had to recreate a similar look. As I mentioned in my review post, OPI Anti-bleak is super opaque and great for stamping. For this look, I started with two coats of OPI My very first knockwurst and then stamped with BM-307 and Anti-bleak. I finished it off with a coat of OPI Servin' up sparkle. Love the final look so much! ♥

pink glittery butterflies1

pink glittery butterflies2

pink glittery butterflies3

pink glittery butterflies4

pink glittery butterflies5

I was really reluctant to remove this manicure but I was also looking forward to wearing something less...pink :P What do you think?

Thanks for reading.
~Sharon

Read more…

Related Posts Plugin for WordPress, Blogger...