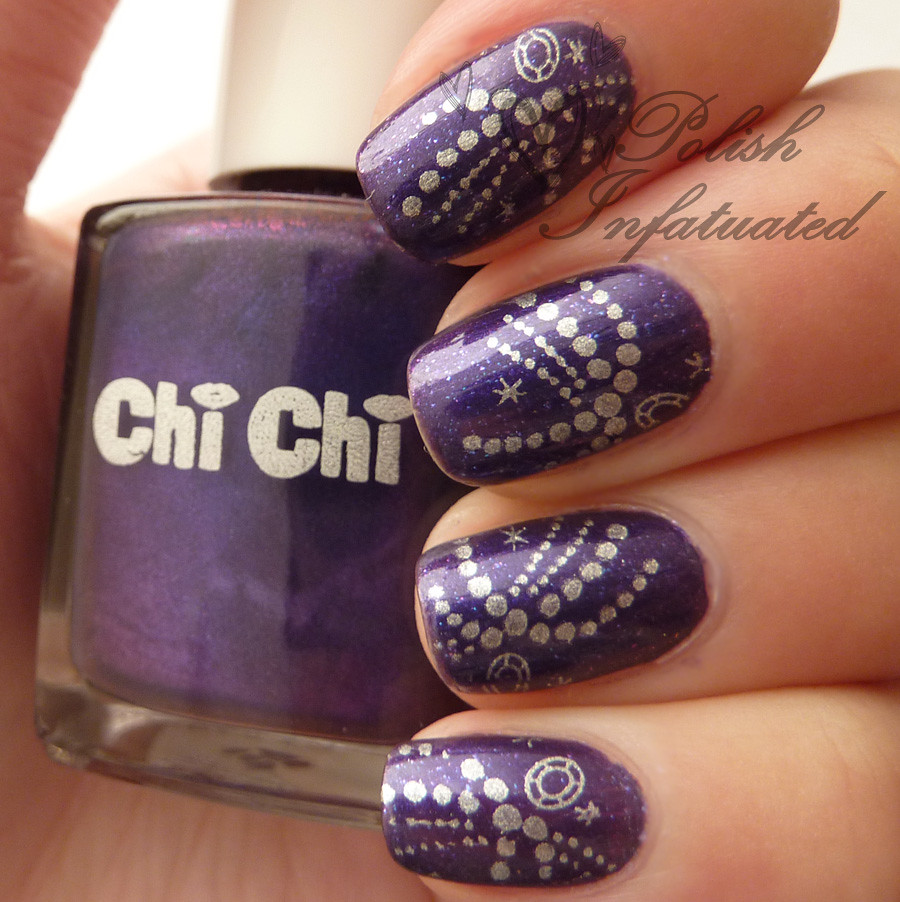
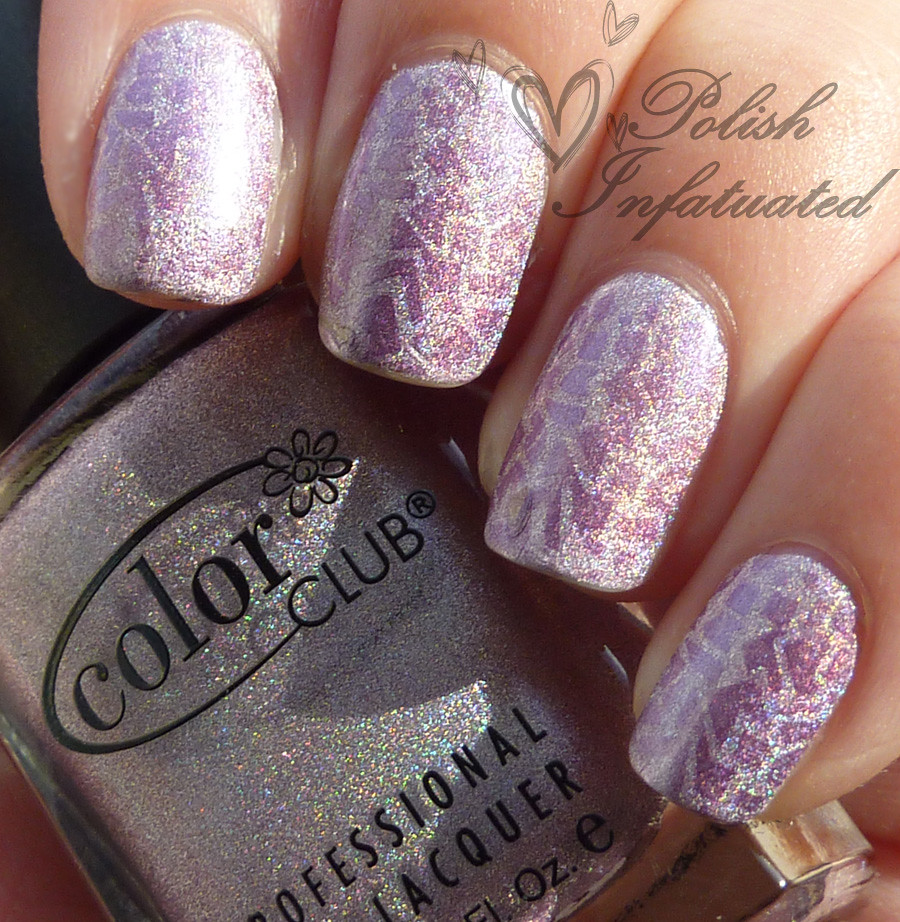
Hi everyone! Today I have a manicure which was a fail at first but turned out quite nice in the end. Spotting a cloud design on my newly acquired stamping plates, I knew straight away I had to incorporate them into a manicure. I have wanted for ages to put together a blue sky and cloud mani but never got around to sitting down to free hand the clouds. Lets just say the freehand might have been less frustrating than the stamping :P
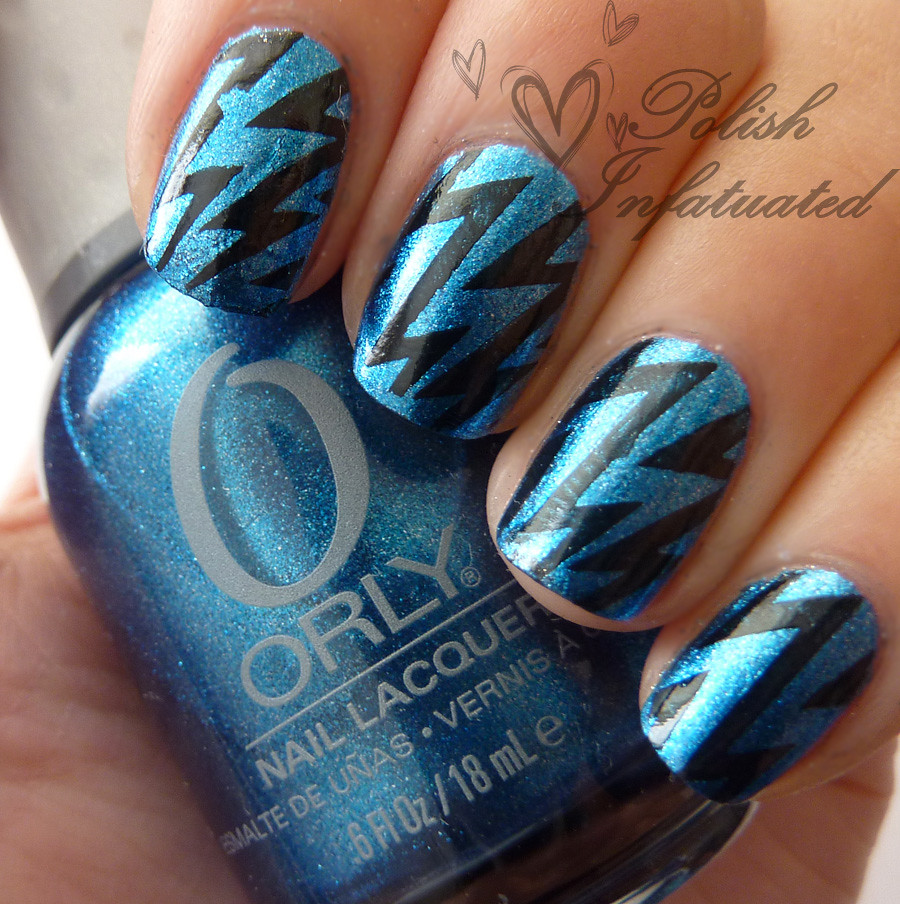
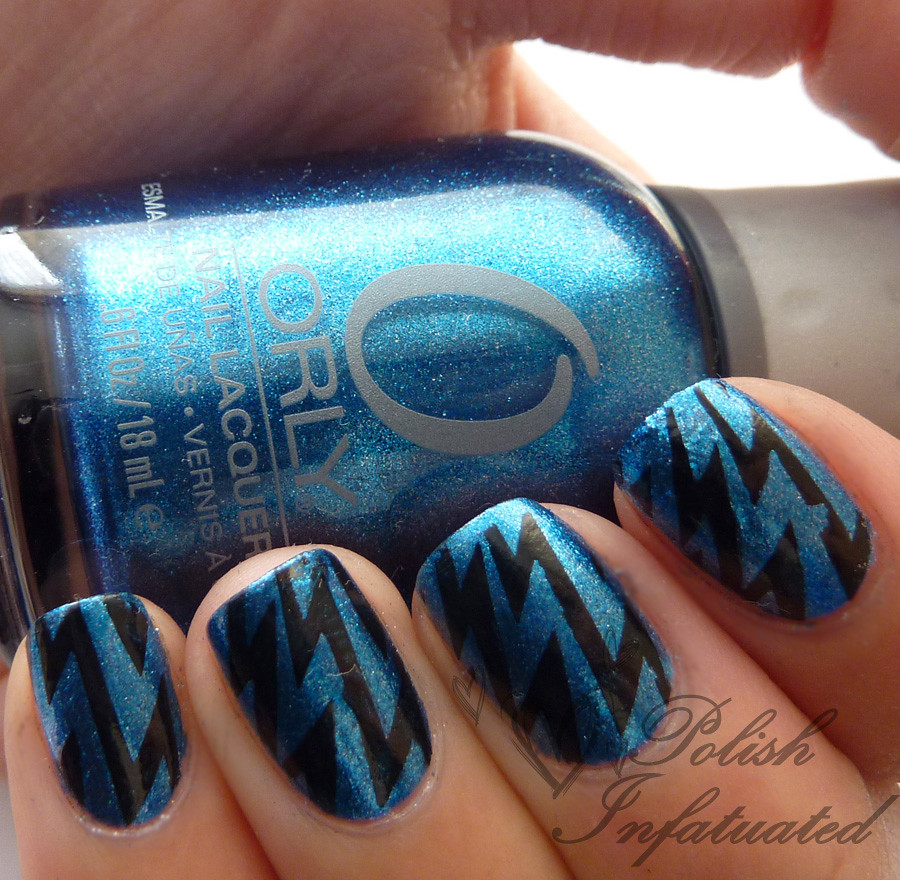
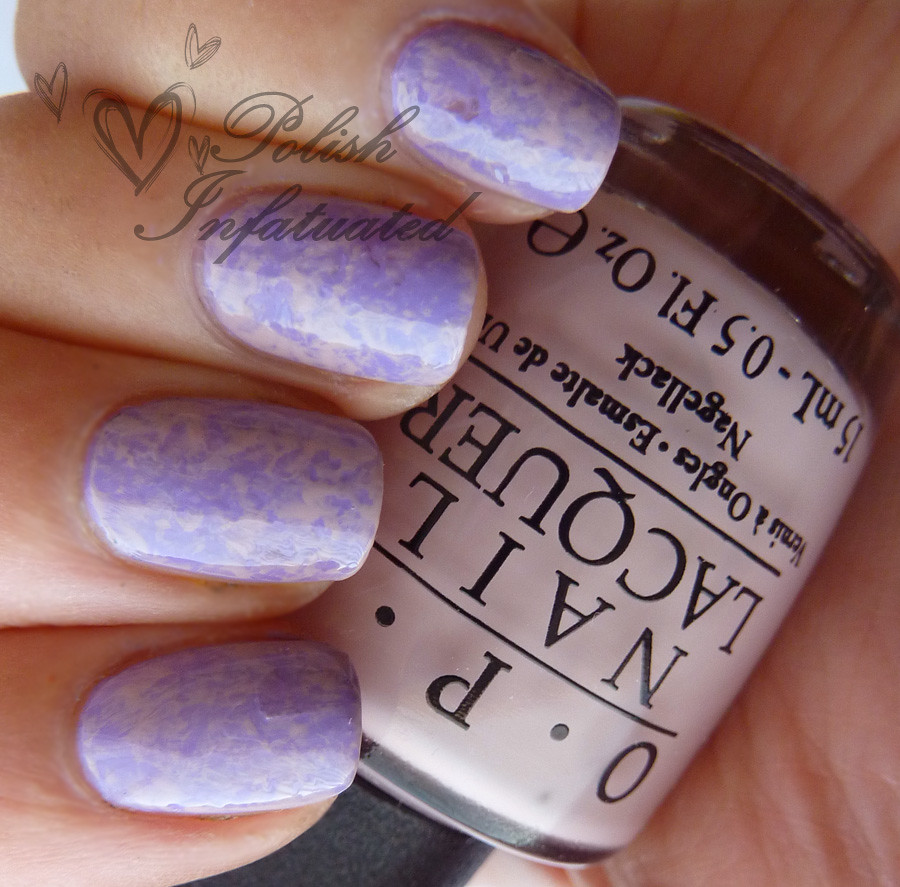
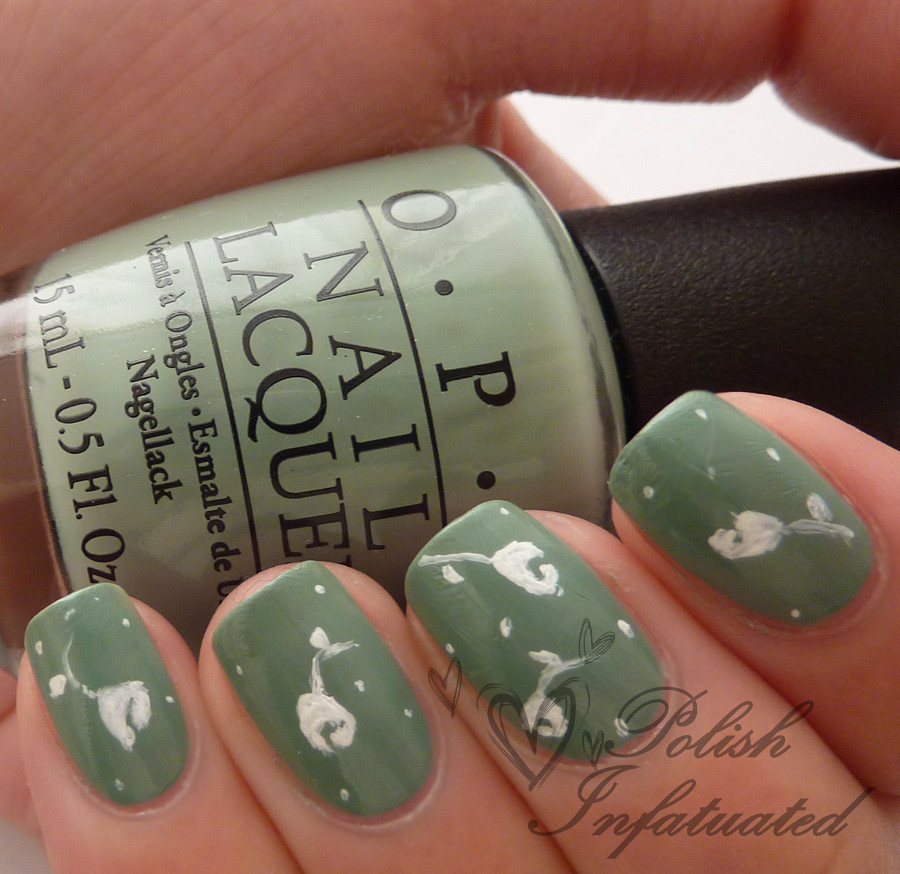
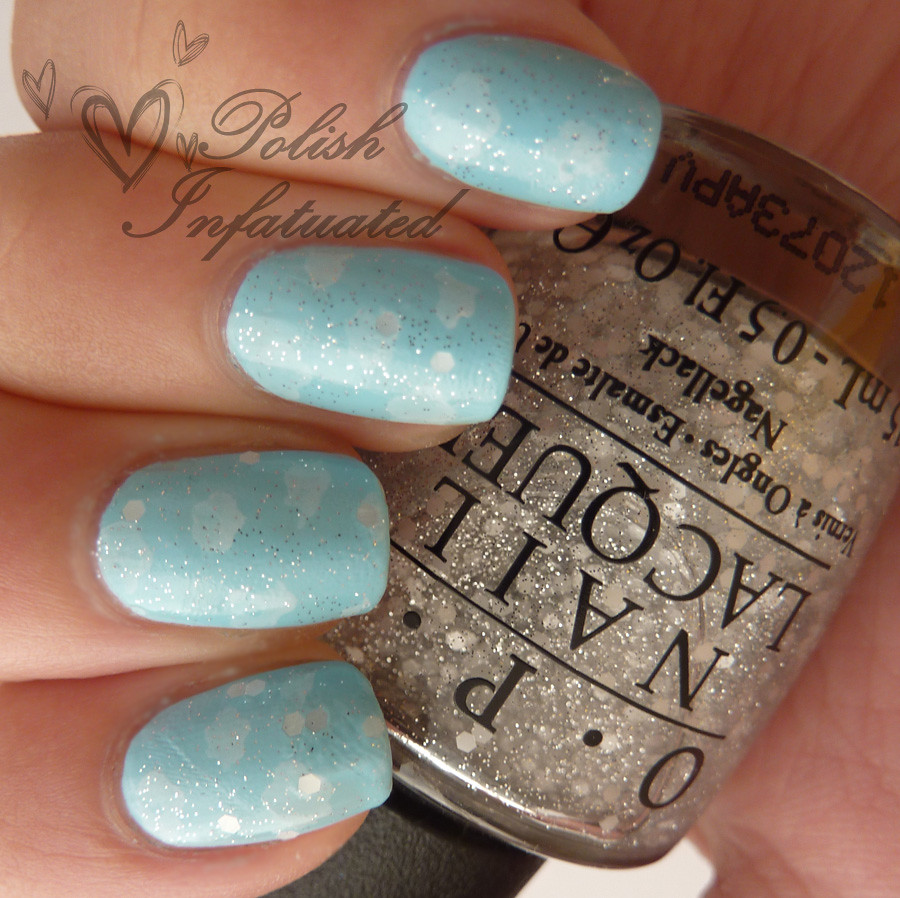
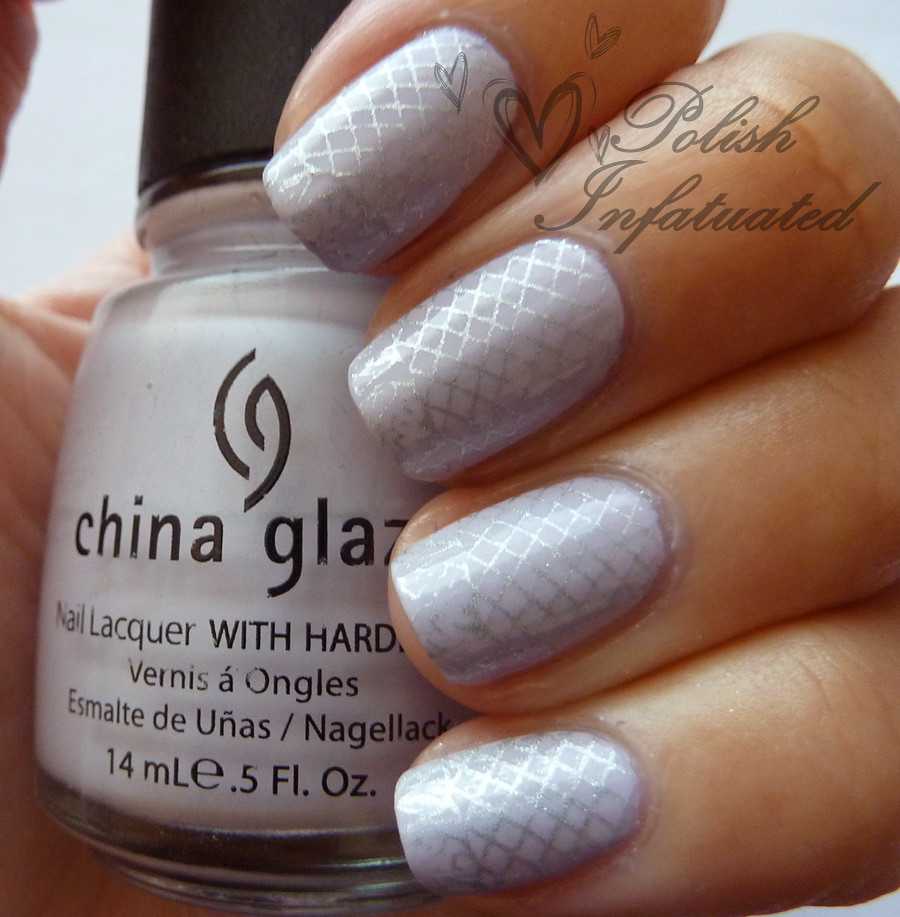
I started with two coats of
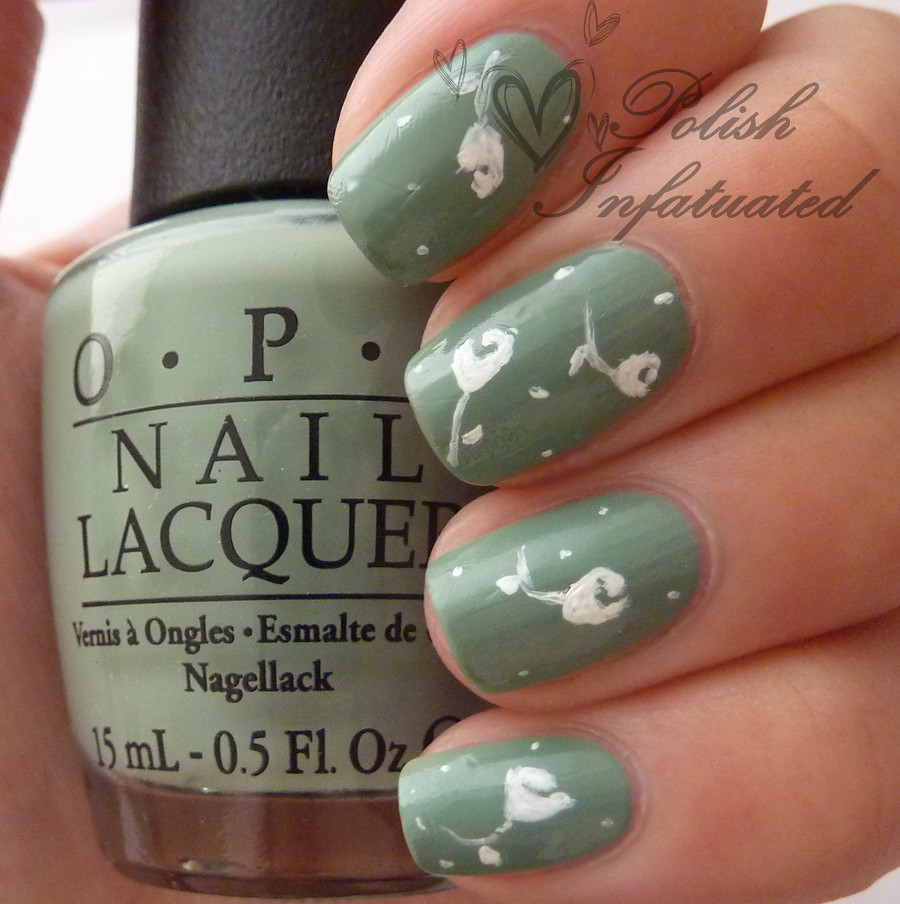
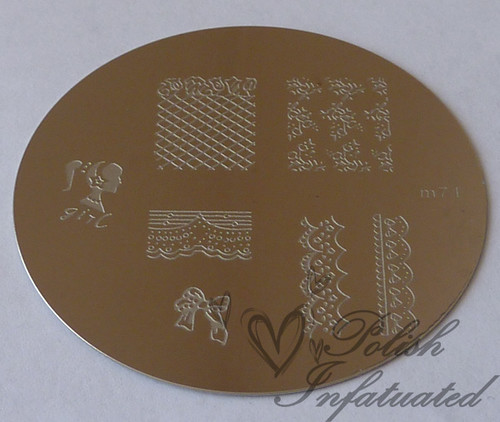
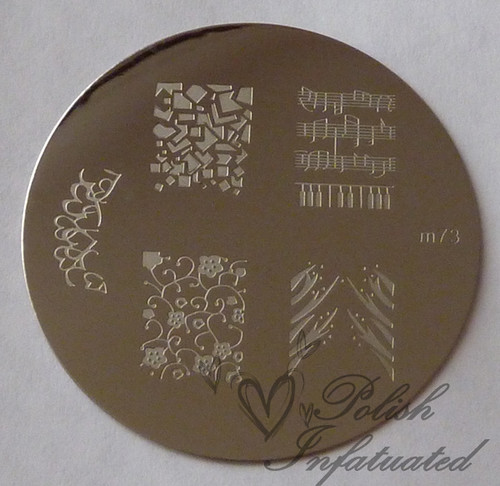
Ulta3 spring shower (spring is in the air now in Australia! :D). I then took a no-brand white stamping polish to stamp the cloud design from fauxnad plate m79. This step frustrated me the most as my white stamping polish refused to be picked up - in fact, I had to try several times before I was able to transfer the design onto my nails. Even then, it was really faded and not at all like the in your face cloud design I had hoped for.
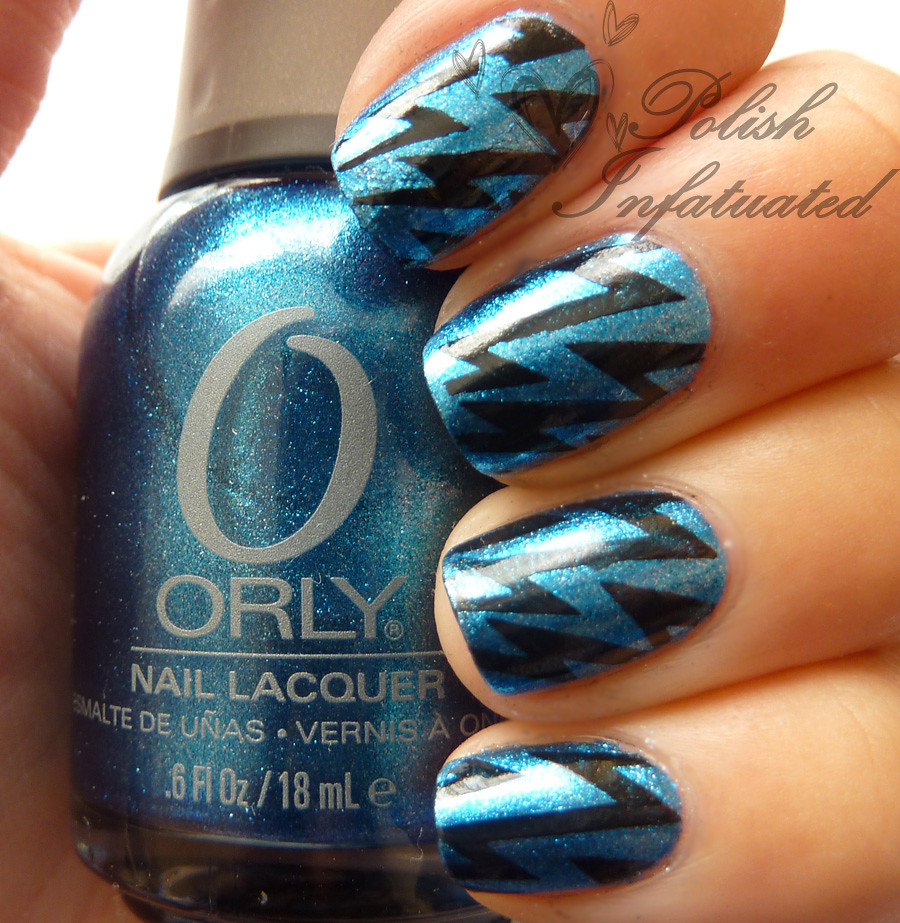
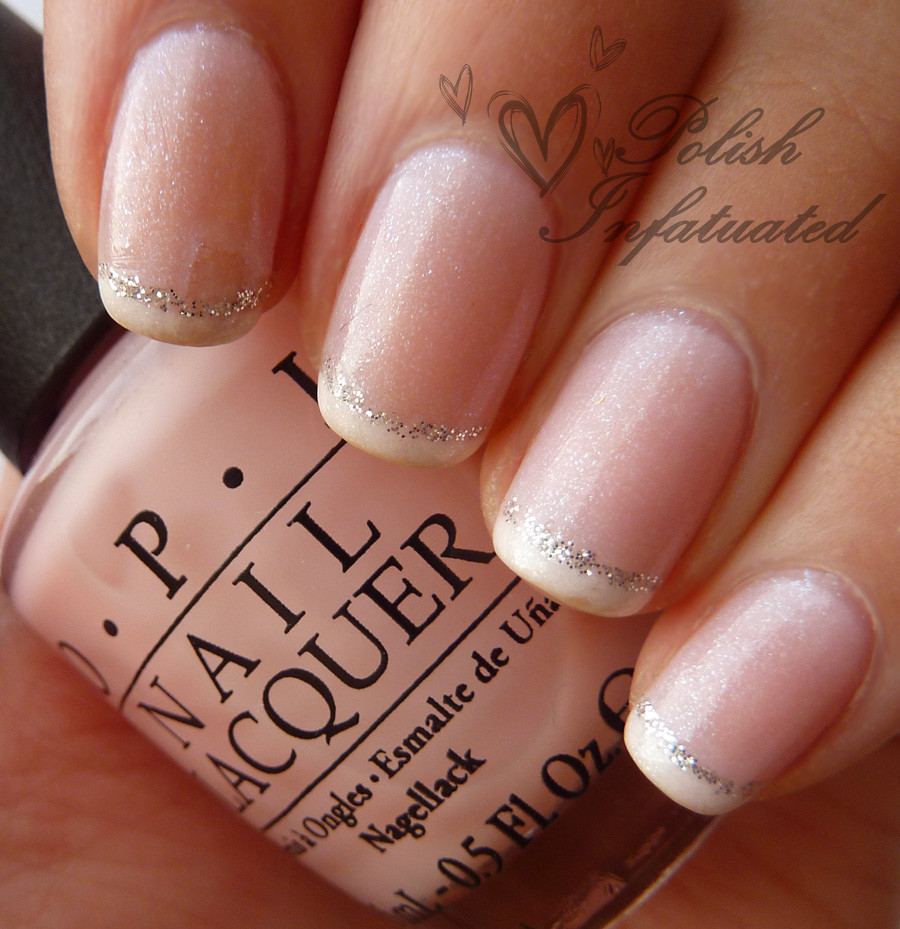
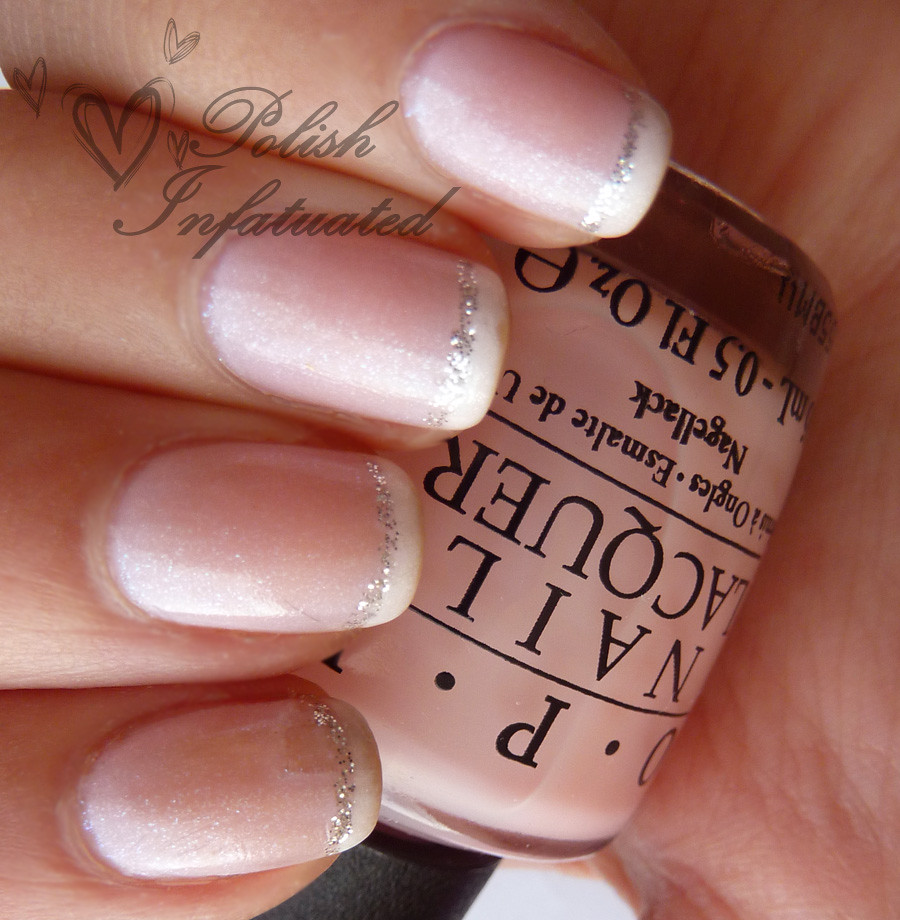
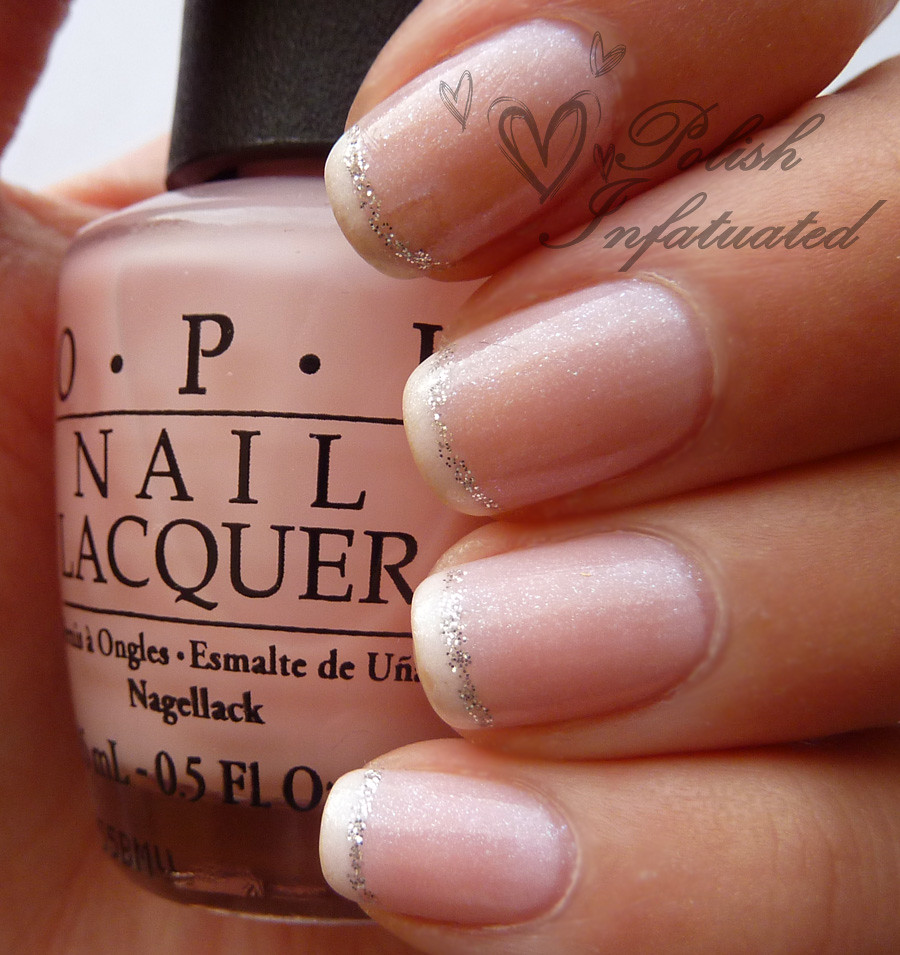
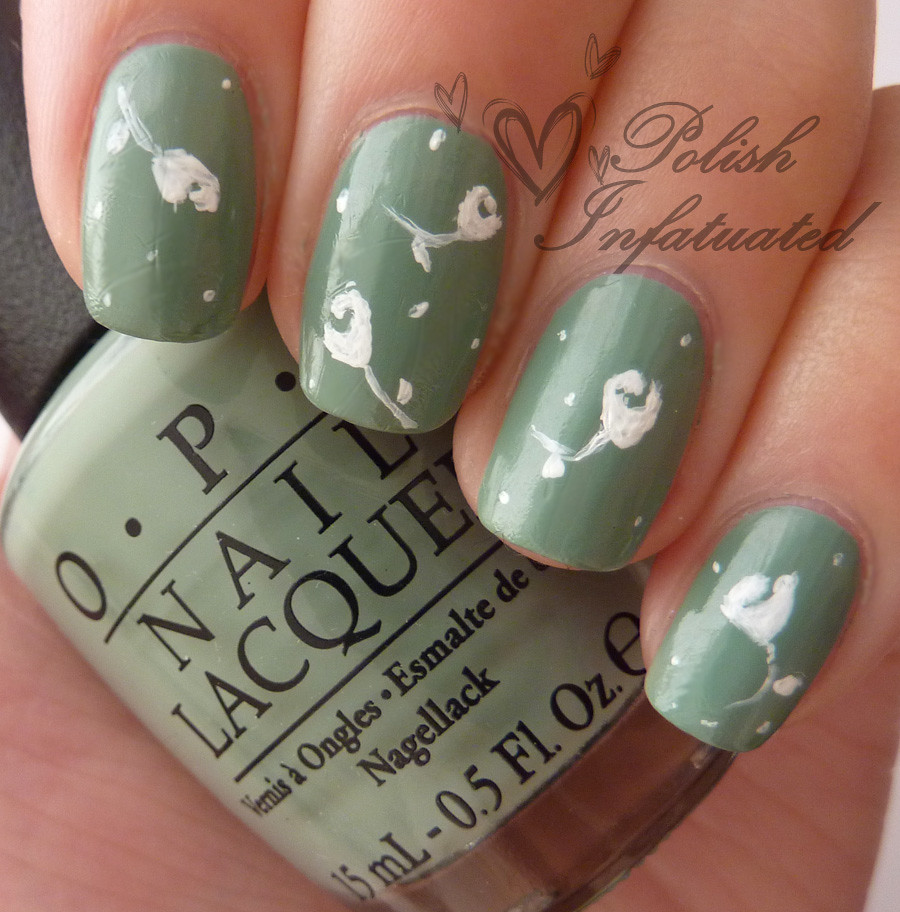
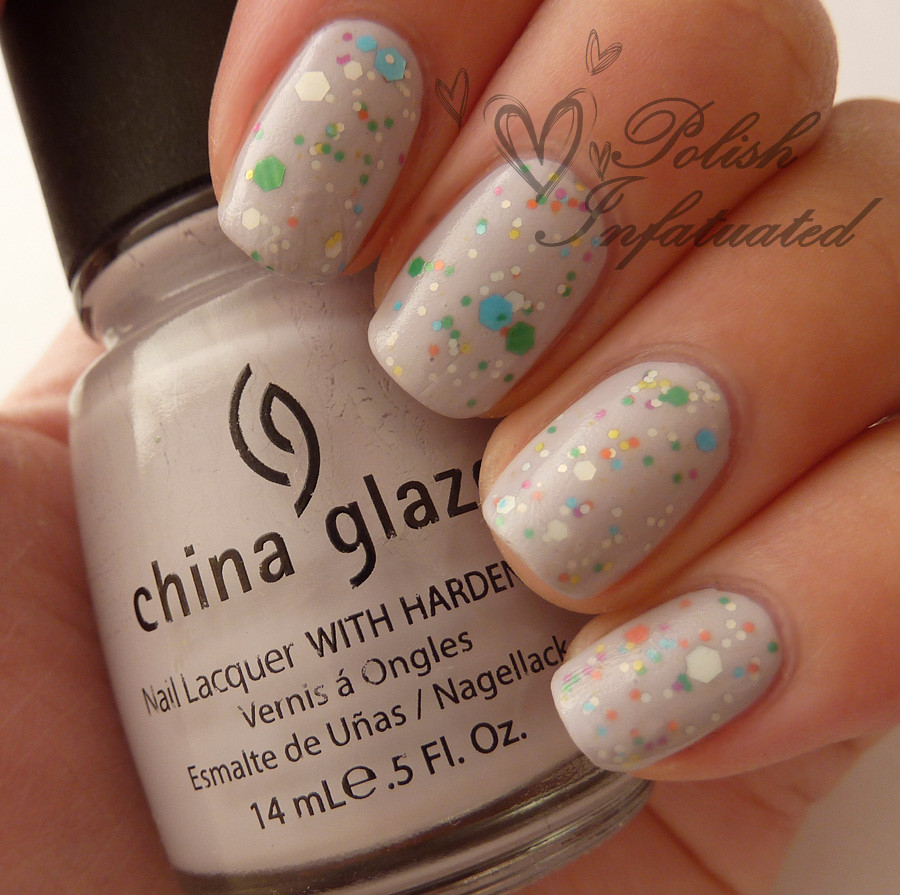
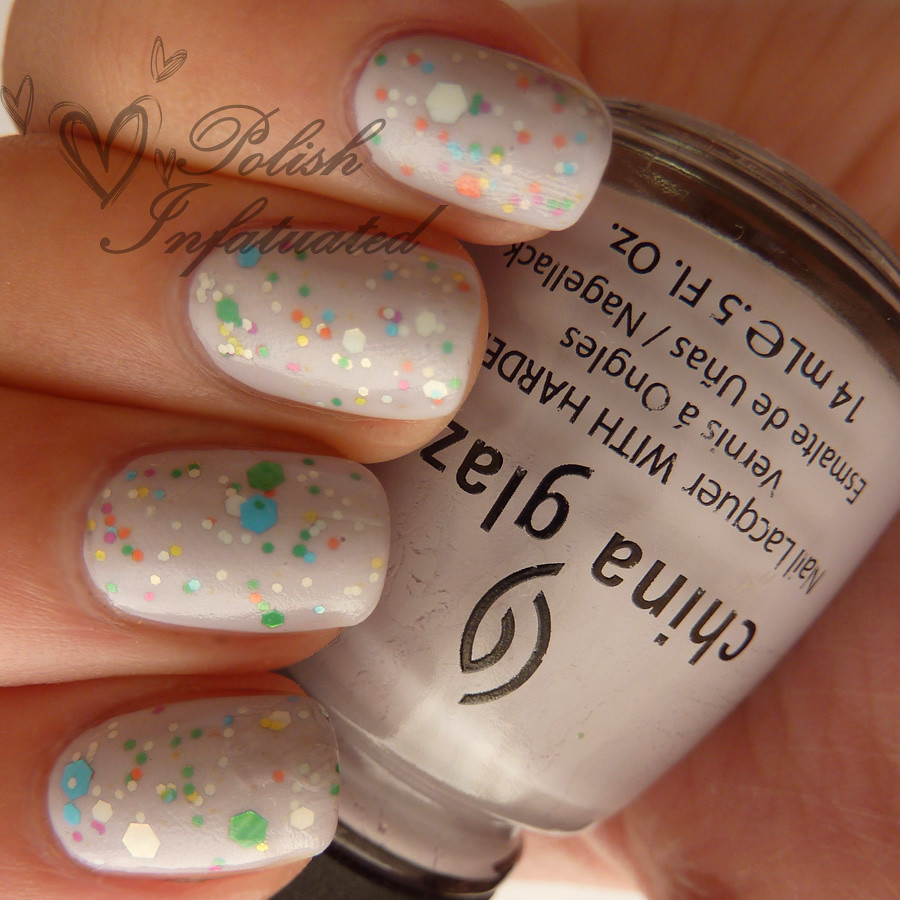
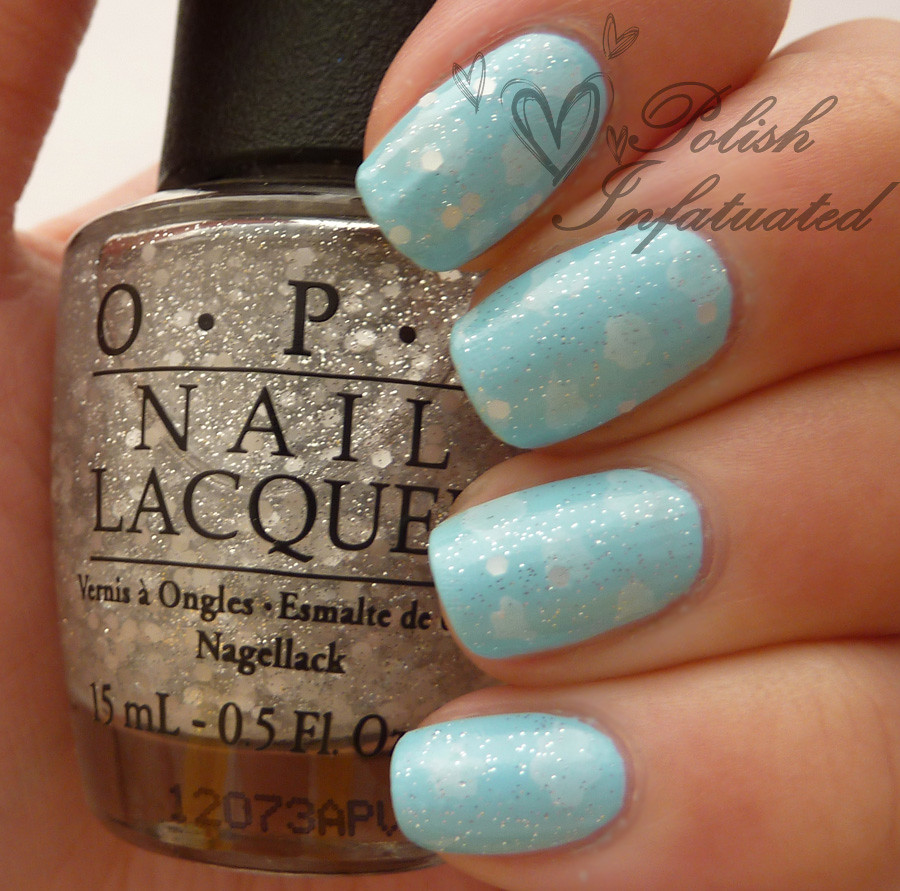
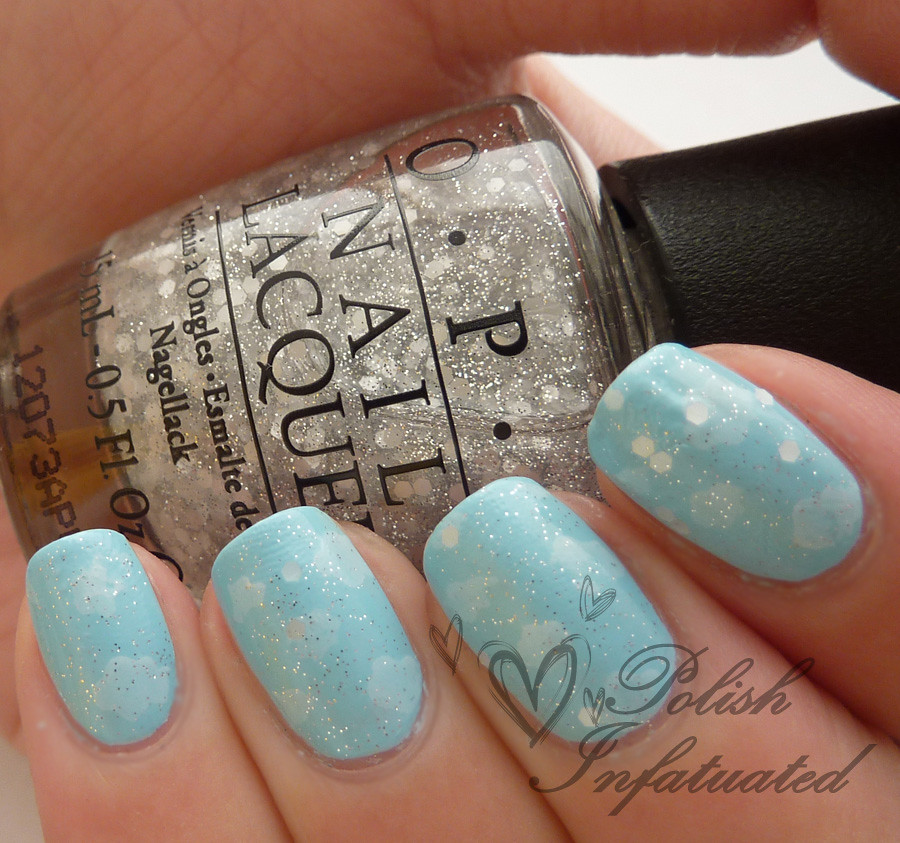
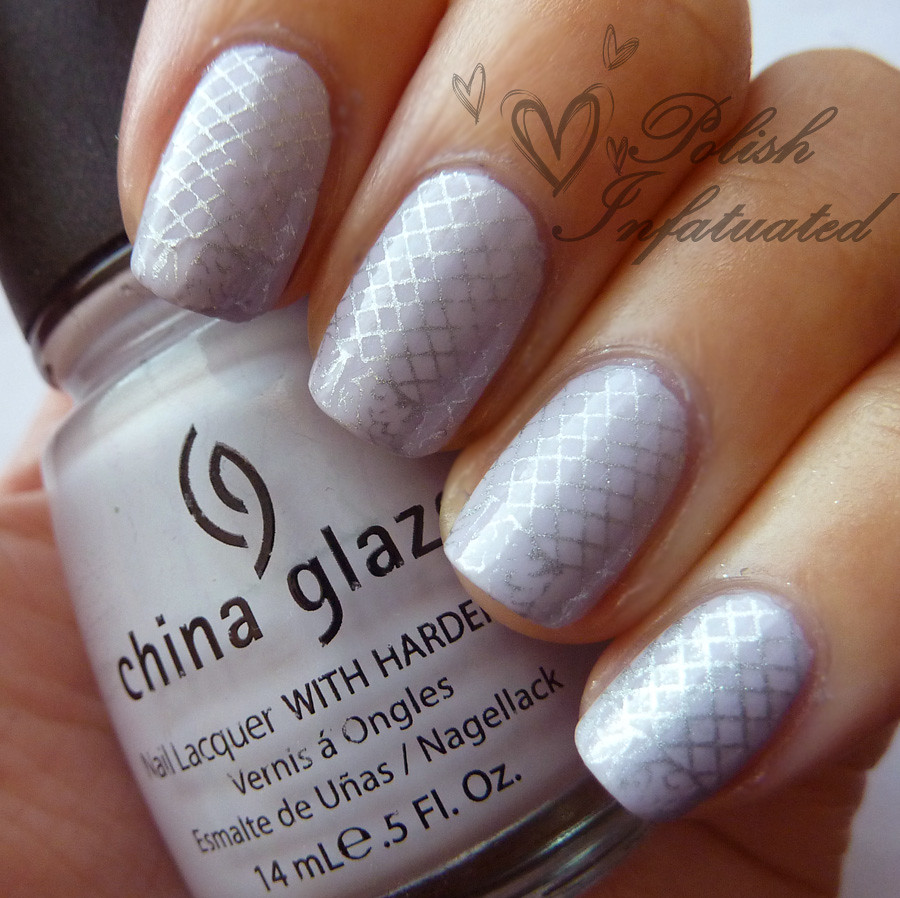
Time for Plan B! I decided to layer over a coat of
OPI Pirouette my whistle to make the mani look softer and more subtle. And hey presto, a cloudy and rainy looking design was born :)
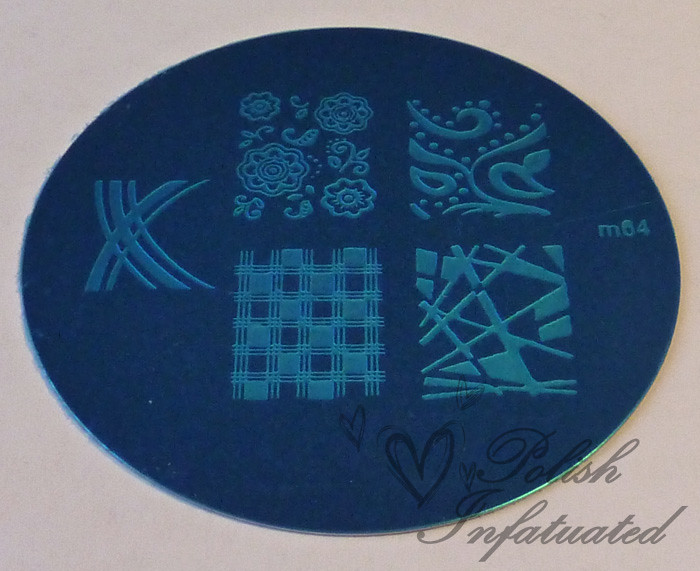
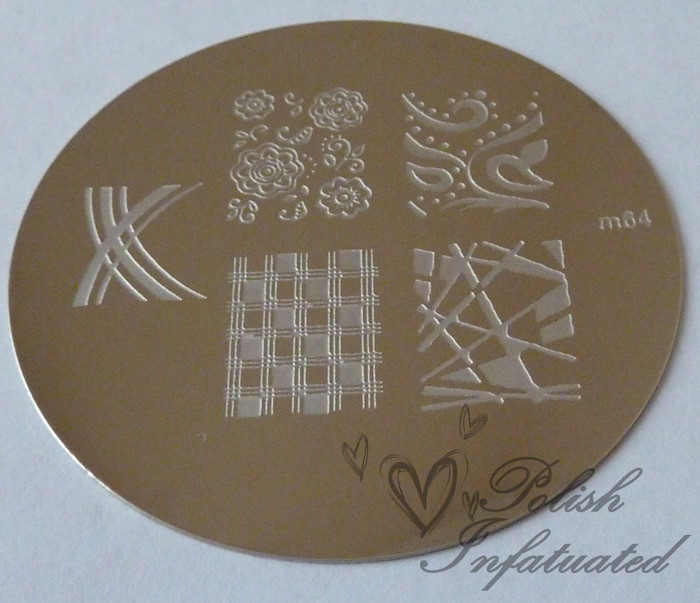
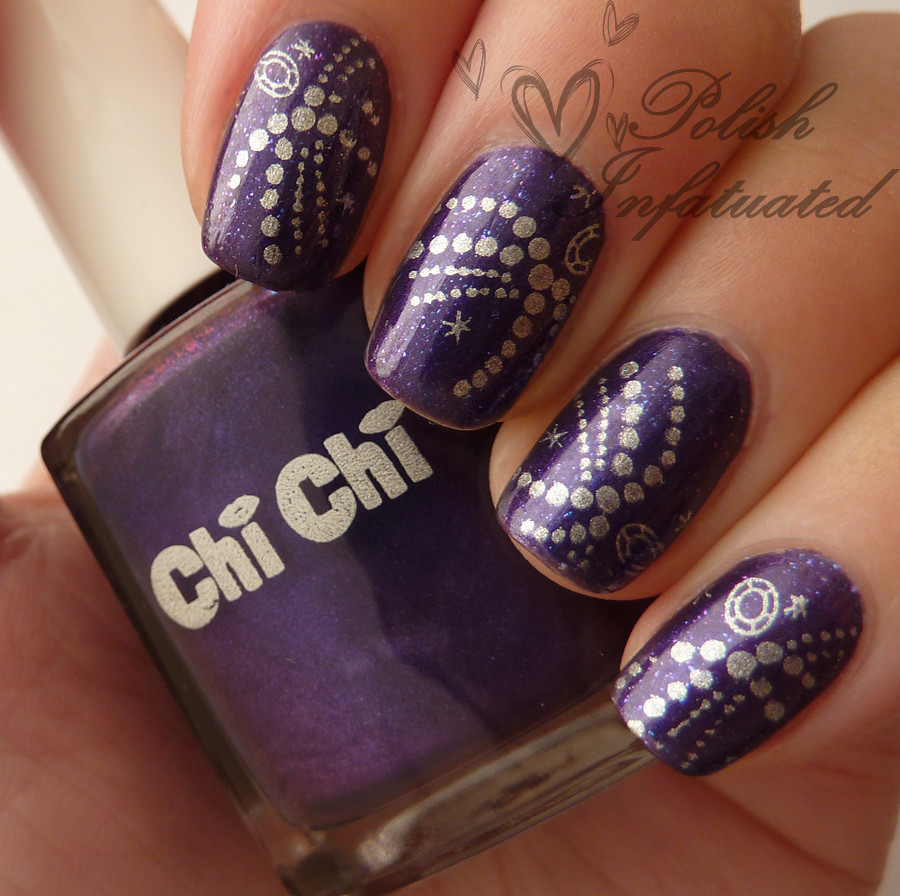
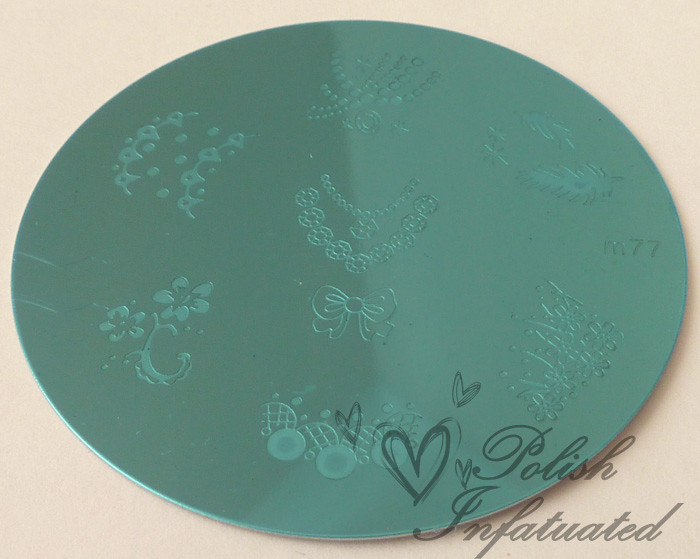
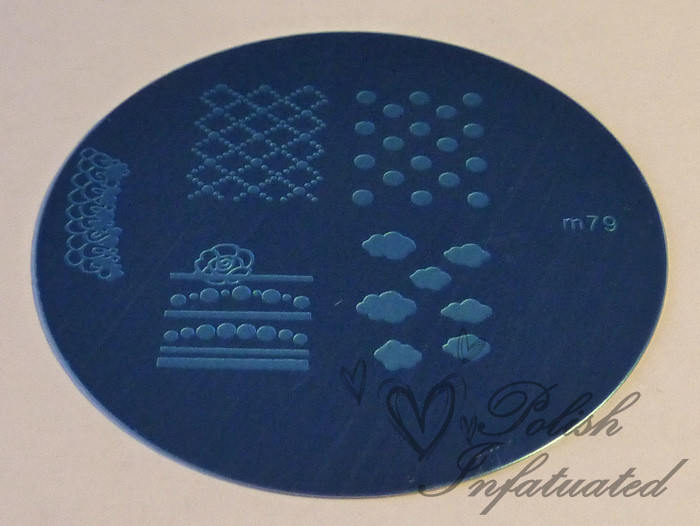
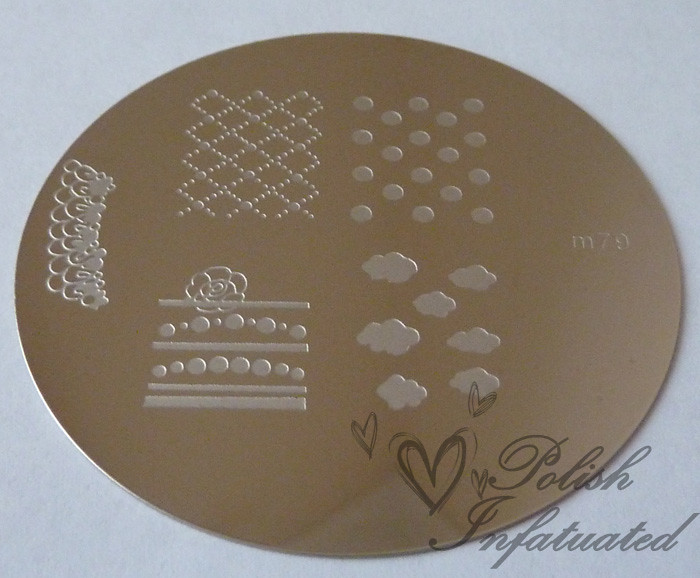
The plate that I used for the cloud design, see how the design is etched deeply into the plate? Definitely user error and not the plate's fault!
I'm actually really pleased with the way the mani turned out. It's not what I had in mind initially but pretty all the same. I had some kids complimenting my nails while I was on prac and wanting me to do theirs too... ;)
Thanks for dropping by!
~Sharon
Read more…